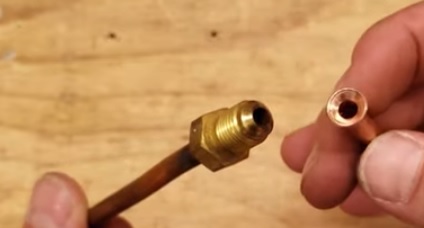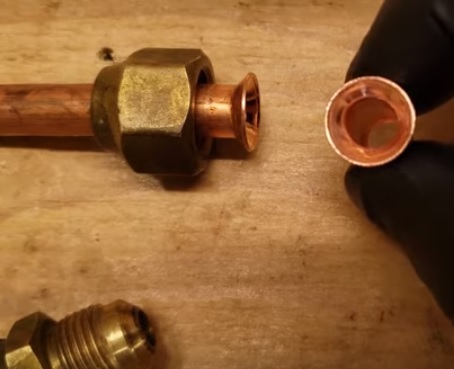
One of the biggest challenges to installing a mini-split is getting the line-set flares together correctly.
The connections need to be sealed well for the system to work properly.
Most DIY mini-split kits will come already with flared ends, but sometimes, these flares will need to be redone.
If the tip becomes scratched or over-tightened, striping the bolt, it will need a new flare.
Flaring the line-set is not difficult with the right tools, with some tips below to help get it right.
What is a Mini Split Line Set?
A mini-split line-set is two copper tubes that transfer refrigerant between the indoor unit and outdoor condenser.
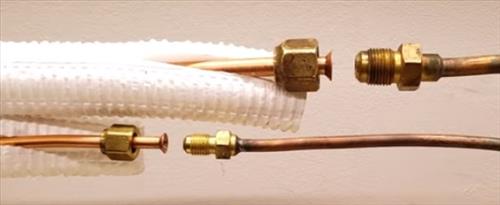
The line-set has flared ends that are bolted together, making an airtight seal.
After bolting the line-set together, it needs to be placed into a vacuum that holds and does not leak.
Once the system is tested for any leaks, the refrigerant is let into the system.
8 Reasons Why A Mini Split Line Set Flare Will Leak Refrigerant
- Flare Is Not Big Enough
- Over Tightening the Flare Connection
- Scratched and Scarring
- Put Oil or Thread Sealer on the Tip
- Incorrect Flare Nut
- The Flare as a Scratch on It
- The Inside of the Tube Should be Round
- Connections Not Tight Enough
The flare should be big enough for maximum surface area coverage.
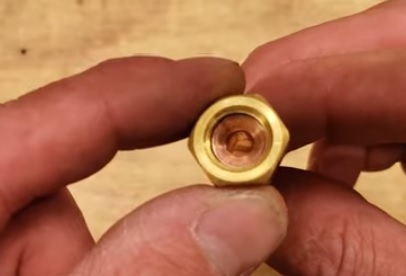
A good flare will take up all the space in the nut with no big spaces around the outer edge.
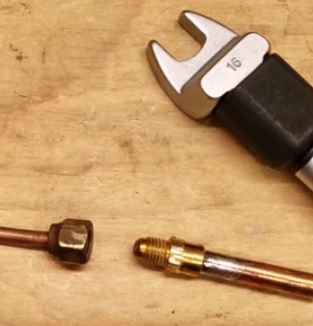
Many times the connection is over-tightened, which can strip the threads.
If the threads are stripped, they will need to be flared again with new connections.
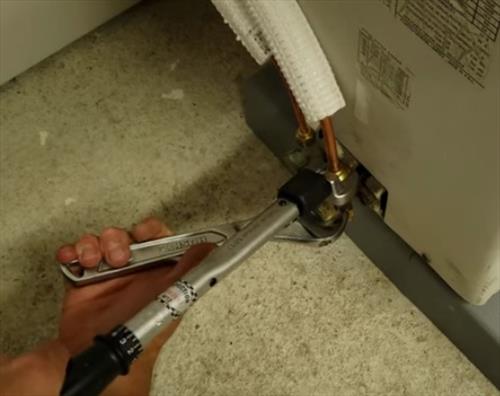
The best way to stop any over-tightening is to use a torque wrench.
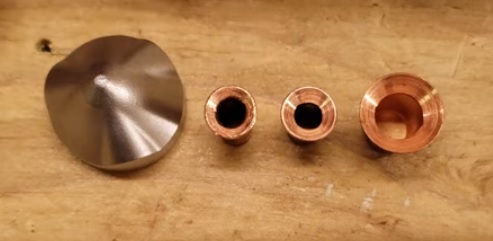
The ends can sometimes become scratched if the end of the flare tool has scratches.
Oil is often added to the tip of the flare tool so there is less friction and a smooth flare surface can be created.
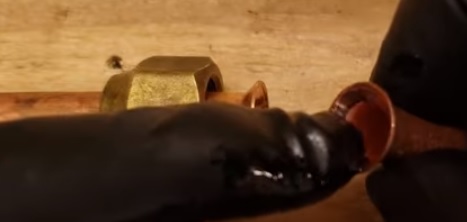
A small amount of oil or thread sealer should be added to the tip of the flare to help it go together and seal.
Nylog is commonly used to help seal up line-set connections.
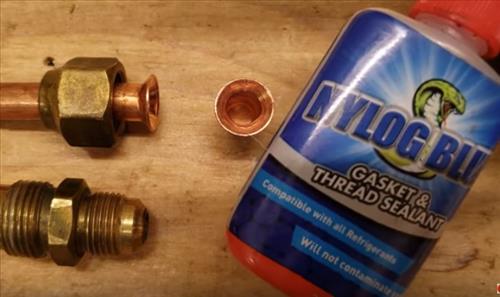
Only a small amount is used on the tip as you don’t want it going into the tube itself.
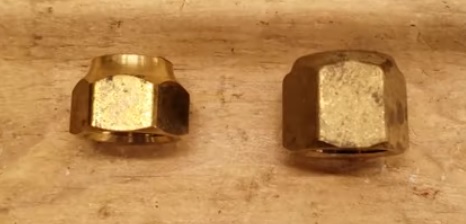
Mini-split flare nuts are made specifically for the high pressure a system will be under.
Often, a flare nut that is bad or lost is replaced with a nut that will screw together but is not made for high pressure.
High-pressure fittings have more surface area and are thicker compared to other nuts.
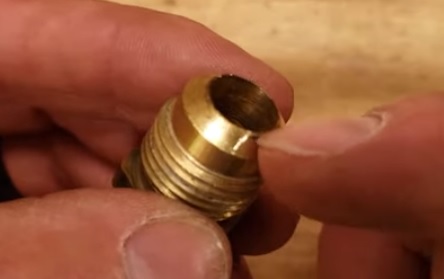
The ends of the flares can become scarred or scratched for a variety of reasons.
For example, moving it around a concrete slab can mark up the tips sometimes.
Be careful when moving them around, and be sure the flare tool-tip has no scratches.
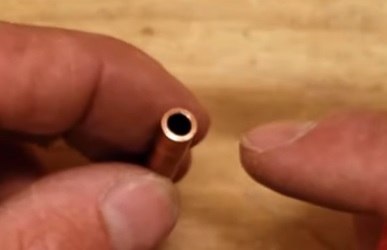
The tube itself can sometimes be damaged when cutting is done.
It should be round with no damage. Often a reaming tool is used to make the tube into the right shape.
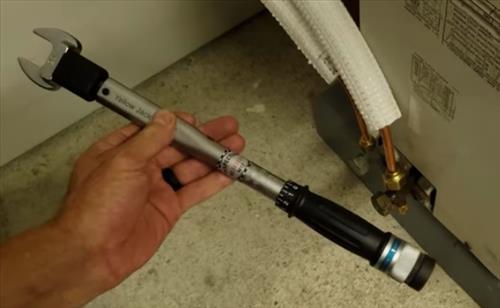
If the connection is not tight enough, the line-set will leak.
Using a torque wrench will give the right amount of tightness needed.
The manual will have the torque amount needed for each system.
Summary
Getting a line-set to bolt together properly requires a good flare.
Sometimes it can take a bit of practice to get w nice flare, but it is not too difficult.
Luckily if a flare is bad, only a small amount of the line-set needs to be cut for a new flare.
Using good tools can make a big difference in how a flare comes out.
Also, using a good sealant can make a big difference.
If no sealant is available, refrigerant oil is often used to help everything go together and seal properly.
