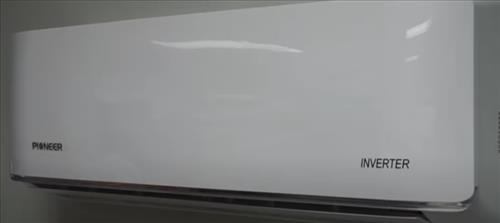
If the indoor condensing fan motor on Pioneer mini split unit fails it can be replaced by a DIY type of individual.
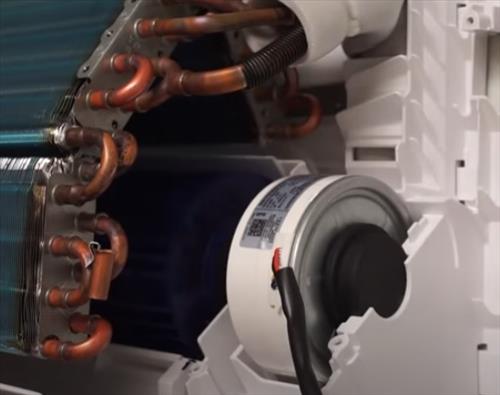
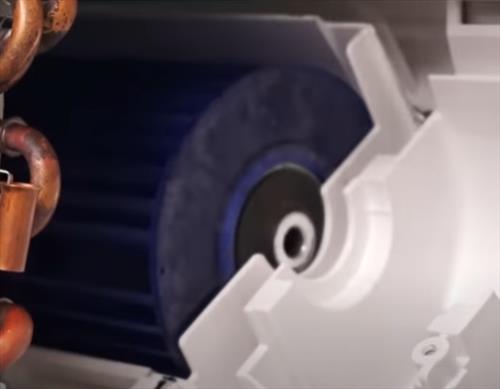
The fan motor is located inside the unit on the right side of the blower wheel.
Replacing it falls in the DIY category but if in doubt, be sure to call a professional.
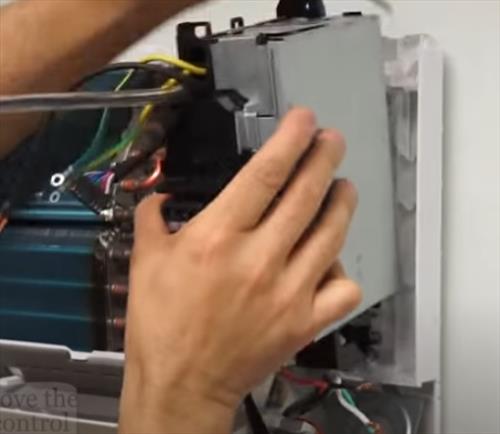
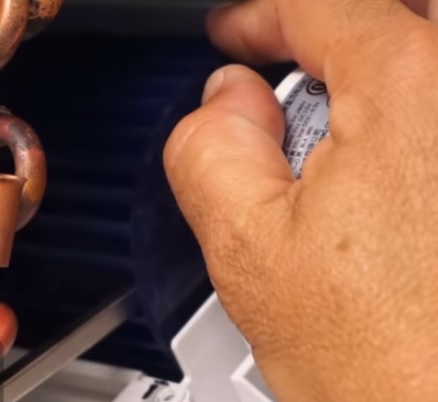
The hardest part of replacing the motor is all the small screws and wiring that hold the inside unit together.
How To Tell Of the Indoor Fan motor Has Failed
- “E3” Error Code
- “88” Flashing Continuously
- Noise Related to Bad Bearing
When the indoor condensing fan motor fails often, it will display an error code, but in some cases, there is no error.
Sometimes noise can be heard, but no error displays.
The most common error code is an “E3” error code, or if “88” is flashing continuously, but other errors can also be shown on the unit.
Another common symptom is the sound the unit makes; often, a rumbling or whirling type of sound can be heard.
The noise is usually the bearings that are going bad, and the motor needs to be replaced.
Where to Buy a New Pioneer Mini Split Indoor Fan Motor?
A new motor can be located at several places, but most use Highseer since they have many Pioneer mini split components and parts.
Have the model number ready to match the new motor, and go here to find a new indoor fan motor. https://www.highseer.com/collections/parts-1
We have no affiliation with Highseer, it is just the source we use most often.
Other sources also will likely have a motor, such as eBay.
There are several variations of the Pioneer mini split units, so the below instructions may have slight differences, but the basics should apply to all units.
When removing parts or disconnecting wires taking pictures with a smartphone can help when it is time to reassemble the unit.
How To Replace a Pioneer Mini Split Indoor Fan Motor
- Power down the unit and turn off the breaker or disconnect.
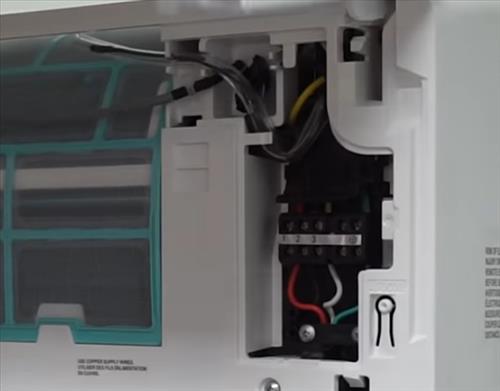
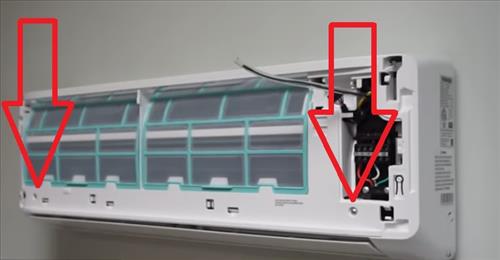
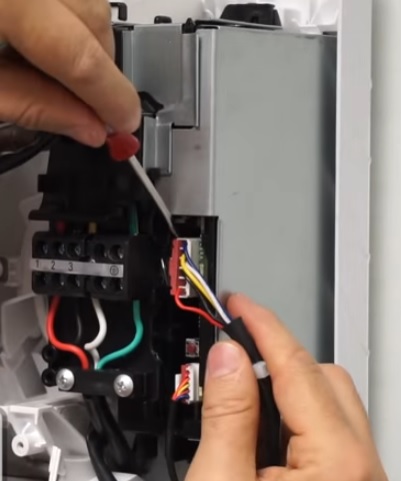
- Open the front cover of the unit and remove the inside electrical cover.
- Remove the front cover wiring.
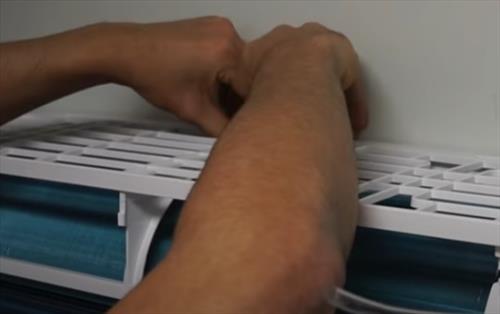
- Remove the front cover.
- Using a Phillips screwdriver, unscrew the two screws holding the front in place.
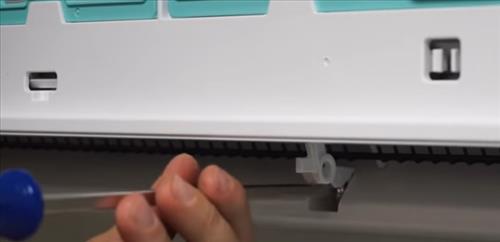
- Unclip and remove the bottom flow vent.
- At the bottom center of the unit, unscrew a Phillips screw.
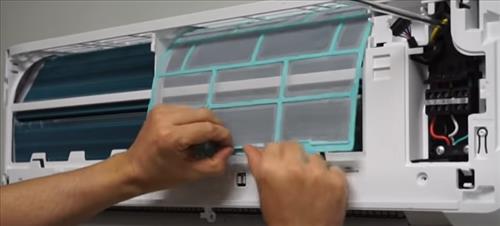
- Remove the air filters.
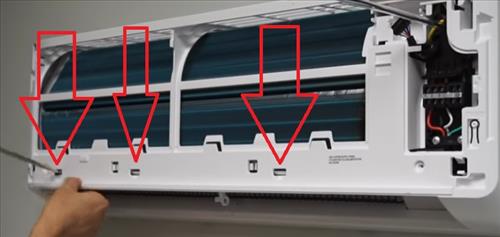
- Use a flat head screw driver to lift up on the front 3-clips.
- Loosen the clips at the rear of the unit.
- Once the clips are loosened, remove the front case.
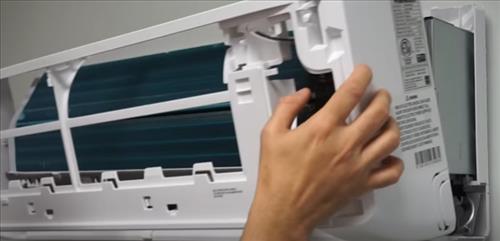
- Take a picture of the wiring and then remove the wiring plugs.
- Remove the electrical line.
- Once the wiring has been disconnected, remove the electrical box.
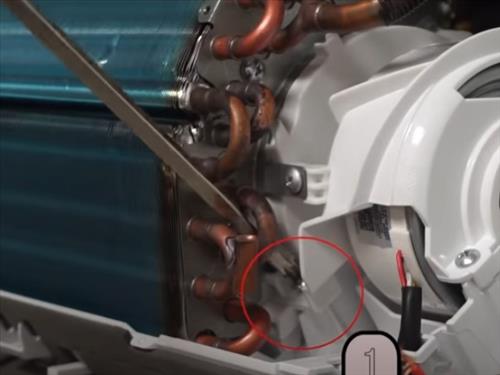
- Remove the Phillips screw on the left of the unit.
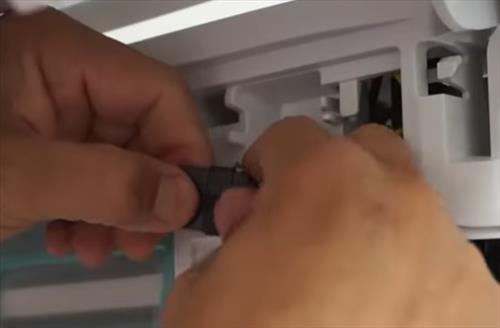
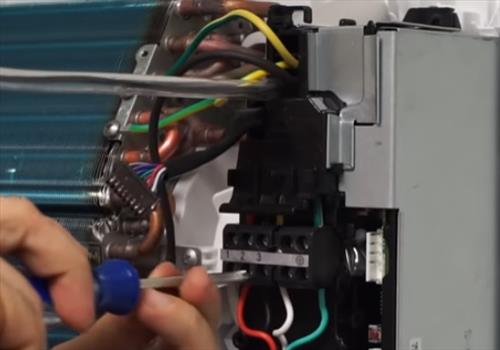
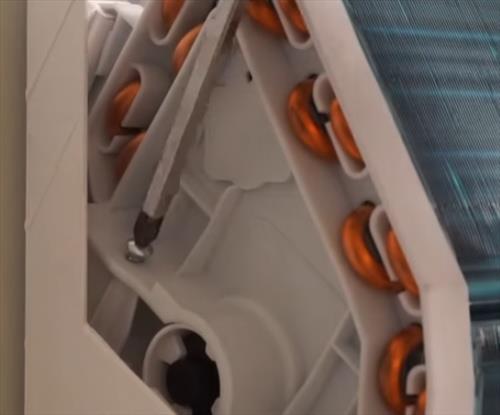
- 8-screws hold the unit together with the blower; remove all eight screws. (See the video at the bottom of this post if you cant find all the screws.)
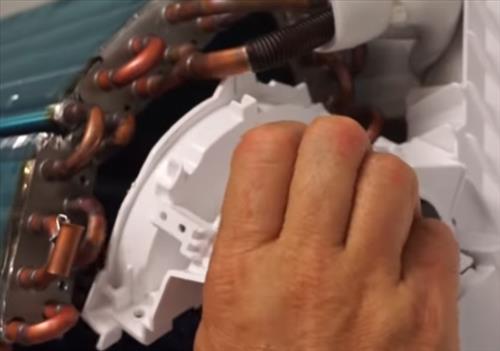
- Remove the fan motor cover.
- A Phillips screw holds the motor in place on the inside; remove it.
- The indoor fan motor can now be removed and replaced.
- Then unit goes back together in reverse of the steps above.


Summary
If the indoor fan motor on your Pioneer mini split fails, it can be replaced.
The most common symptom of a failed motor is an “E3” error code, or if “88” is flashing continuously.
Some motors can fail and not give a code but will make a noise since the bearings usually have gone bad.
The motor is a low-cost item to buy, with most of the cost in labor.
Many DIY individuals replace the motor, but there are many small parts that need to be removed and reinstalled.
If you are a handy type of person, it would likely not be a difficult job, but if in doubt, be sure to call an HVAC technician.
Have you had issues with an indoor Pioneer mini split fan motor? Let us know your thoughts below.
I am trying to reassemble the unit after receiving the new motor. If I had to do it over, I would just take the entire thing off the wall, cap the lines, take it to the dump, and get another inverter. This would require a lot of vacuuming and replacing gas. The repair has been harder than it was to install the two zone system, which I did with a couple of friends. (The HVAC installers here in Baltimore wanted nothing to do with installing a Pioneer system. I got estimates of $3,500 to $5,000 to install a $1,500 system. I had a professional do the electric work and did the rest with my two friends.).
Pioneer gives a video instruction for the motor replacement that is not narrated and does not have any written instructions beyond some writing on the screen. The video would be useful if it had some still shots of the actual steps. Instead, it is a running video with annoying music. The screws are almost impossible to attach without having them either fall into the unit or on the floor. A magnetic screwdriver tip is not sufficient to hold them in tight quarters. I screw grabbing screwdriver is too thick to fit inside the contours of the unit. I finally started taping the screws to the end of a screwdriver to get them started, then pulling the tape off with tweezers after a couple of turns.
Of course, the job has to be done on a ladder, so dropping a screws entails climbing down and using a magnet to try to find them. Pioneer doesn’t give specs on the screws that would enable someone to go to the store and buy some spares to put in a pocket to expedite the process. The problem I am having is that it is very hard to get all of the parts to fit back together. You don’t want to force plastic into place and you definitely don’t want to damage the heat exchanger and coils.
When I look at the time I have spent on this project, it would have been more economical if I had just worked some extra hours and spent the money on a replacement inverter. The other inverter works fine.
The wires (black, white, red, green) were hard to get back in. I am stuck at this point and can’t screw the wires in. Any tips?