Heat pumps are very versatile in the way they can heat and cool a space.
Mini split heat pumps can be installed into anything from a garage to a shed.
Home additions are also a good use of a mini split heat pump when the ductwork can’t be extended.
Another benefit of a heat pump is they are much easier to install than a traditional HVAC unit and are perfect for the DIY type of person.
Some skills will be needed, such as flaring the cooper line-set and bolting them together or running 240 Volts AC to a breaker box.
Some HVAC tools will also be needed, mainly a vacuum pump, HVAC gauges, and a flaring tool.
The other tools needed are basic wrenches, a drill, and wire strippers.
DIY Heat Pump kits can be bought online at sites such as Amazon.
Mini Split Heat Pump Installation Basics
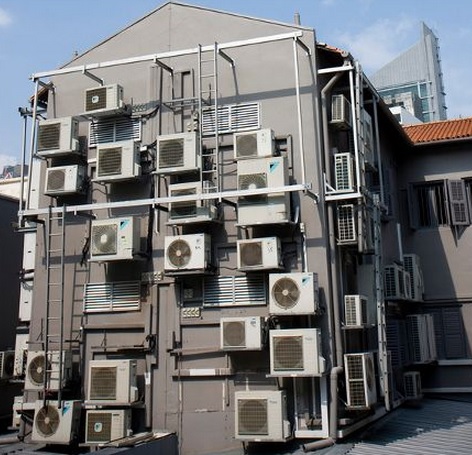
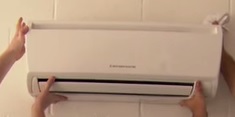
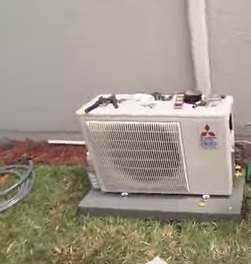
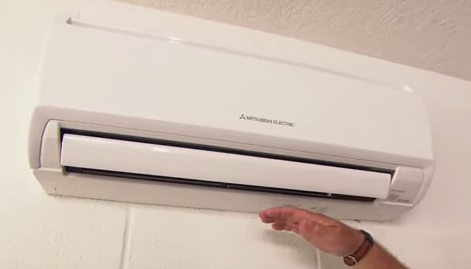
A mini split has a condenser unit that sits outside and an indoor unit that must be mounted.
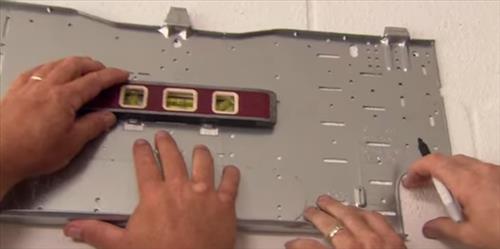
The indoor unit is mounted on a wall.
The outside condenser unit needs a flat surface to sit on or can be hung with a bracket off a wall.
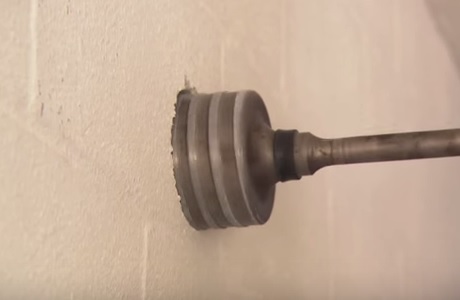
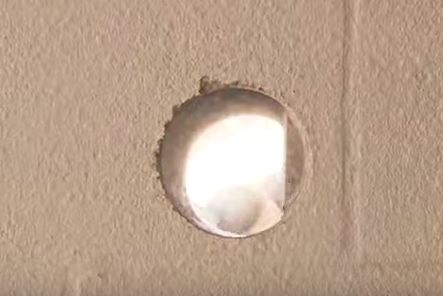
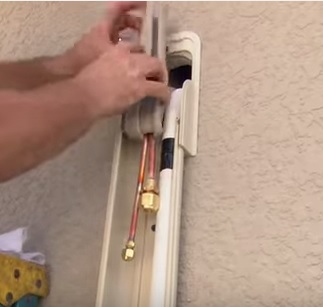
Once the units are set in place, the refrigeration lines called a line-set need to be run between the units. The thermostat wire is also run with the line-set. A hole is usually drilled through a wall to run the line-set between the two units.
Bending the line-set can be tricky and is done slowly as they can not get kinked, which will block the refrigerant flow.
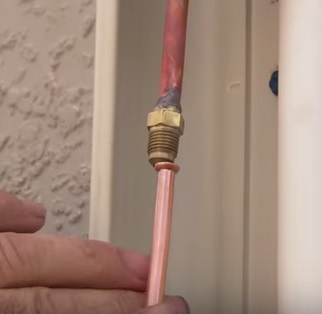
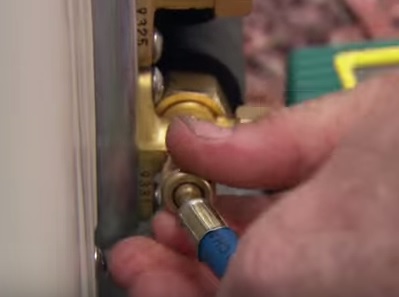
The line-set ends are flared and then bolted together.
HVAC gauges are hooked up, and a vacuum pump is used to pump out the air. Once the air is evacuated, the unit should sit for 5-10 minutes to be sure it holds a vacuum. If it doesn’t hold a vacuum, there is a leak somewhere that needs to be fixed. Usually, it is where the line-set is flared together. Alternatively, some techs use Nitrogen to test for leaks.
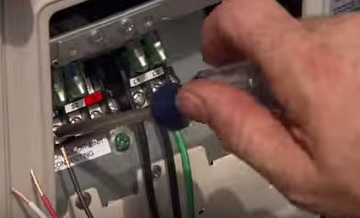
Electrical needs to be run. A disconnect box is used between the pole and the mini split.

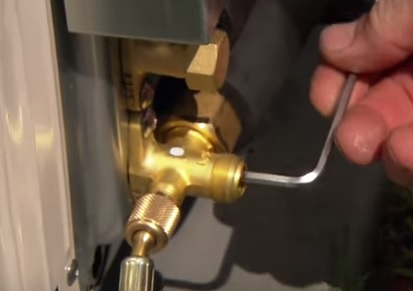
After everything has been double checked and the unit holds a vacuum indicating there is no leaks. The refrigerants is let into the system by opening the unit up with an Allen key.
After everything has been done, the unit should put out hot or cold air, depending on the setting.
Summary
Installing a mini-split yourself will not be for everyone and depends on your prior skills.
If there are some things that you do not feel comfortable doing, then they can always be outsourced.
For example, the electrical can easily be outsourced to an electrician who should have it hooked up in less than an hour.
Vacuuming out the line-set and checking for leaks can also be outsourced to an HVAC technician.
The price to have someone install a unit can vary but will likely be between 500-800 dollars.
Any part you can do yourself can greatly reduce cost.
For example, having an electrician run the electrical should not cost more than 200-300 dollars.
If you can do everything else besides one or two things, the overall price will drop.
Of course, this will depend on the person and won’t fit everyone. If you have any hesitation about installing a mini split, always call an experienced HVAC technician.
You need nitrogen to pressure check. Vacuum will actually make it more difficult to find a leak due to pulling the two materials together during that process. With a nitrogen test you push them apart much like you would with 410a would while running in heat mode. Also check the max PSI-g sides and pressure test it up to that. For instance i have machines that have 550PSI-G ratings that i take up to 450PSI-G to test for leaks. Its very easy to do and a absolute must.
I keep reading that using Nitrogen to 150psi is necessary, not just a vacuum to check leaks. How many have you seen that leak while pressurized but not with a vacuum? I would like to just use a vacuum (and it makes sense) because it is a pain to get nitrogen. It would be great to know your experiences with this. Thanks.
I’m trying to replace an OD CONDENSER FAN MOTOR FOR A SOLEUS MINI SPLIT KFTHP-24. I BOUGHT THE MOTOR, BUT OF COURSE IT DIDNT COME WITH BRACKETS AND MY CUSTOMER DIDNT HAVE THE OLD FAN BRACKETS NOR THE FAN TO COMPARE. CAN YOU OFFER ANY suggestions?