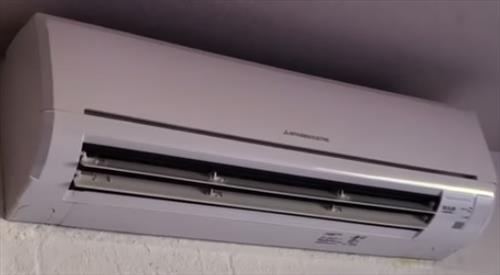
Mini split units are nice to have for heating or cooling and are low-cost to operate.
While they work very well, periodic maintenance is necessary to keep them operating correctly.
Cleaning the inside wall unit evaporator coil is one of those requirements to keep the unit working properly.
How Often Should a Mini Split Be Cleaned?
Most mini split evaporator coils should be cleaned every 1-2 years.
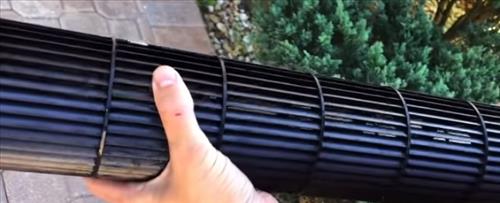
The blower wheel also should be cleaned since it can build up dirt and grime.
How quickly a unit becomes dirty will depend on the environment it is in.
For example, a desert area with lots of dust in the air will become dirty much quicker compared to mountainous regions.
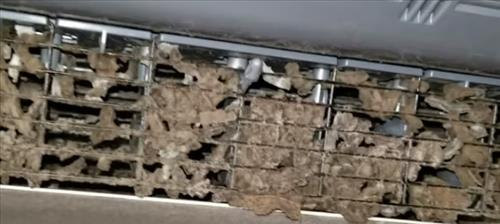
The best way to see if a unit needs cleaning is to physically inspect it for dust and grime build-up.
How Hard Is it To Clean a Mini Split?
Cleaning a mini split is not difficult and falls in the DIY category.
The front cover will need to be removed and the evaporator cleaned.
The blower motor usually will also need to be cleaned.
Every unit will be slightly different when removing the front cover and blower motor.
Of course, if in doubt, be sure to call a professional who should be able to clean a unit in 1-2 hours.
The cost to hire an HVAC technician to clean a unit will vary but usually cost 100$-200$ dollars.
Items Needed To Clean a Mini Split
- Drop Cloth
- Mini Split Cleaning Cover Bag
- Evaporator Coil Cleaner
- Basic Tools (Screwdrivers/Pliers)
- Five Gallon Bucket
Some basic items are needed to clean a mini split, including a cleaner, a cleaning cover bag, and basic tools.
How well you plan to clean the unit will depend on what to buy.
There are different types of cleaners, such as low-cost single cans or big bottles, that can clean many units.
If you plan to clean many mini splits or want more for the next time you clean a unit, Desolv 82565 is a good cleaning fluid used by many HVAC techs.
If you only need to clean a single unit, a small, low-cost can will likely be better.
Example Evaporator Coil Cleaner on Amazon
Nu-Calgon 4171-75 Evap Foam No Rinse Evaporator Coil Cleaner, 18 oz.
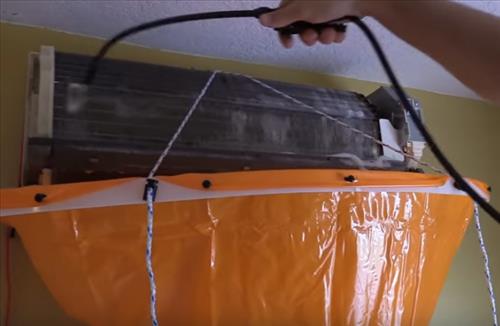
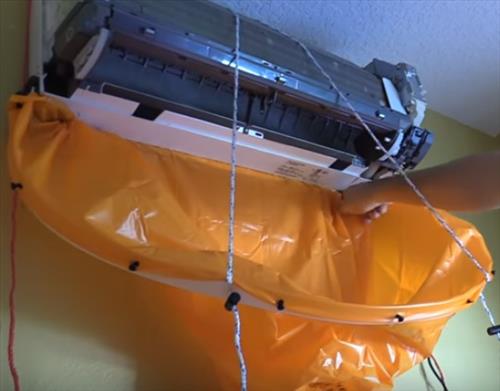
A mini split cover bag is a good low-cost option that covers the entire unit and drains the waste into a 5-gallon bucket.
Example Mini Split Cleaning Cover Bag on Amazon
Air Conditioner Waterproof Cleaning Cover Dust Washing Clean Protector Bag
A whole mini split cleaning kit can also be bought if needed.
Example Mini Split Cleaning Kit on Amazon
SpeedClean MSB-KIT Mini Split Bib Kit
Below is the basic step to clean a mini split inside the evaporator and blower wheel, which are the main dirty components.
Every unit will be disassembled differently with different locations for screws and other small parts.
While each unit will be slightly different, the basics will be the same.
How To Clean a Mini Split HVAC Unit
- Turn the power off to the mini split.
- Place a plastic drop cloth on the floor to catch any water.
- Remove the air filters.
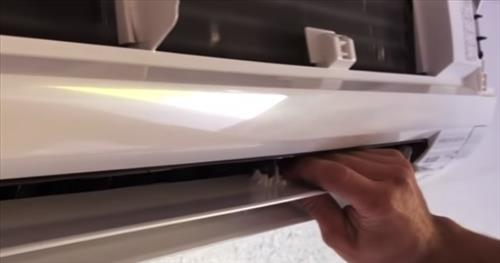
- Remove the horizontal plastic vent fins.
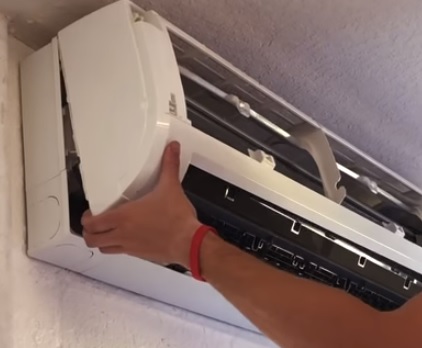
- Remove the front cover exposing the evaporator coil.
- Remove the drain pan and let it hang to the side.
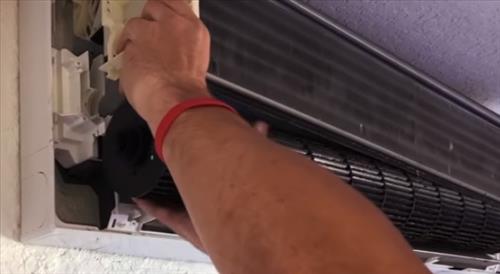
- If cleaning the blower wheel, remove it.
- Place the bag cover on the unit.
- Spray cleaner on the inside evaporator and clean the fins.
- Clean the blower wheel and install it back into the unit.
- Reinstall the drain pan, front cover, and any other components removed and test the unit.


Summary
Cleaning a mini split is not too difficult for a handy type of person.
Some parts will need to be removed and placed back together, mainly the front cover and blower wheel.
The blower wheel is often the hardest part to remove and often requires some patience to remove and put back together.
If the blower wheel looks too hard to remove, it can sometimes be cleaned while still inside a unit.
Be sure not to get the electrical parts wet. If they do get splashed, give the unit time to dry before powering it back on.